By Martin Rak
Your Award-Winning Tutor
With its popularity on the rise and the range of 10-stop ND filters to pick from getting ever wider, there hasn’t been a better time to try your hand at long exposure photography than now.
After all... it’s a great way to bring out the mood in your photographs and make them look dreamy and almost ethereal.
First things first - in order to get the very long exposure times (several minutes) during the day, you will need a very strong ND (neutral density) filter (eg. 6, 10 or even 15 stop). Each stop of an ND filter reduces the amount of light hitting the camera sensor by a factor of 2. In other words, a stop is a doubling or halving the amount of light when taking a photo.
6 stop filter = 26 = ND64 (1 sec without the filter = 1 minute with the filter)
10 stop filter = 210 = ND1024 (1 sec without the filter = 17 minutes with the filter)
Which means that if you use a 6 stop filter you will need 60x more light and if you use a 10 stop filter you will need 1000x more light hitting the sensor than without the filter.
Moreover, it’s always good to have some time-tested practicalities angle; this is what our photographer Martin Rak can share with you to save you the pain put into the trial and error method:
“There are many types and manufacturers of ND filters on the market. I have tested and used many of them - screw-on filters from B+W and Hoya and square filter systems from Lee and NiSi. The screw-on filters are great because they are small and you can use them with your lens hood attached, which helps when shooting in rain or snow. However, when you want to combine more filters (polarizer, ND grads and ND filters), the square filter systems are very handy. NiSi Filters came up with a great solution of implementing their polarizing filter straight into the holder so you can easily turn it even with several filters lined up. All their filters are made of glass and even their strong ND filters (6 and 10 stop) have no colour cast whereas most of the other filters such as Lee Big stopper or B+W 1000x suffer from strong blue or red colour casting respectively. The NiSi Aluminium holder is also very solid and it is a pleasure to work with it. I have been using the NiSi filter system for almost a year now and I can only recommend it.”
Last but not least, here goes a little list of tips from Martin to help you sail through long exposure photography that might come in handy if you want to master its domain.


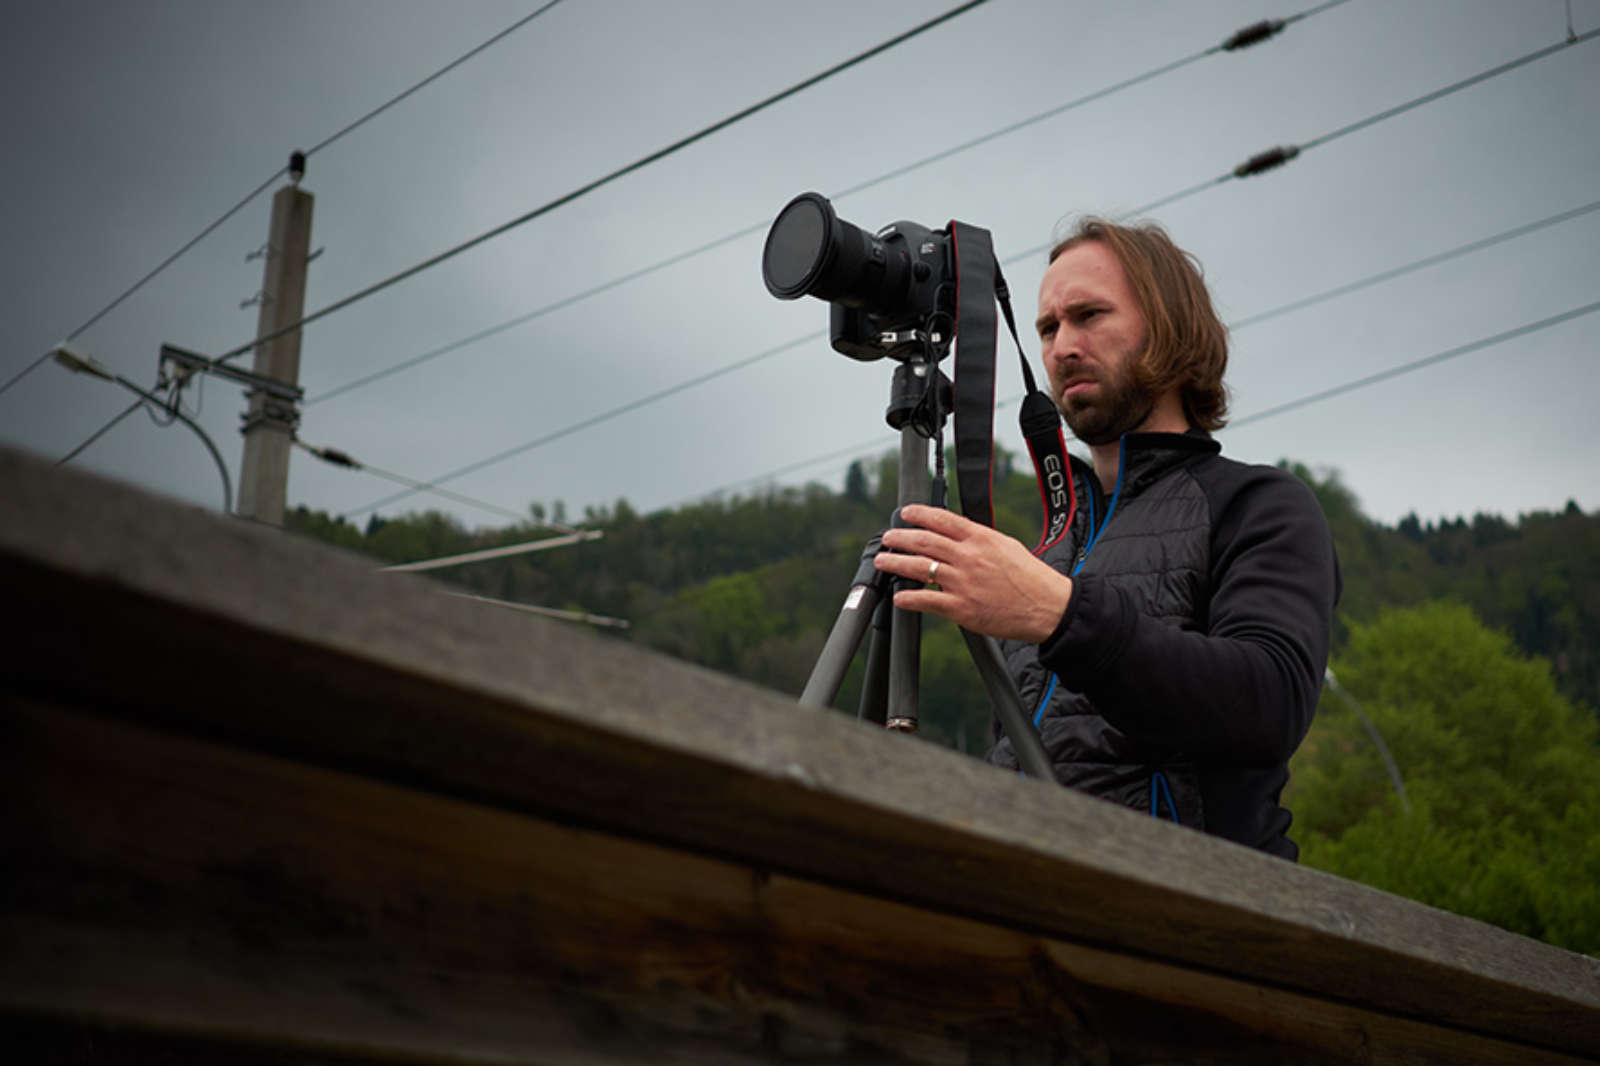
1/ Look for the right location and conditions
Moreover, it’s always good to have some time-tested practicalities angle; this is what our photographer Martin Rak can share with you to save you the pain put into the trial and error method:

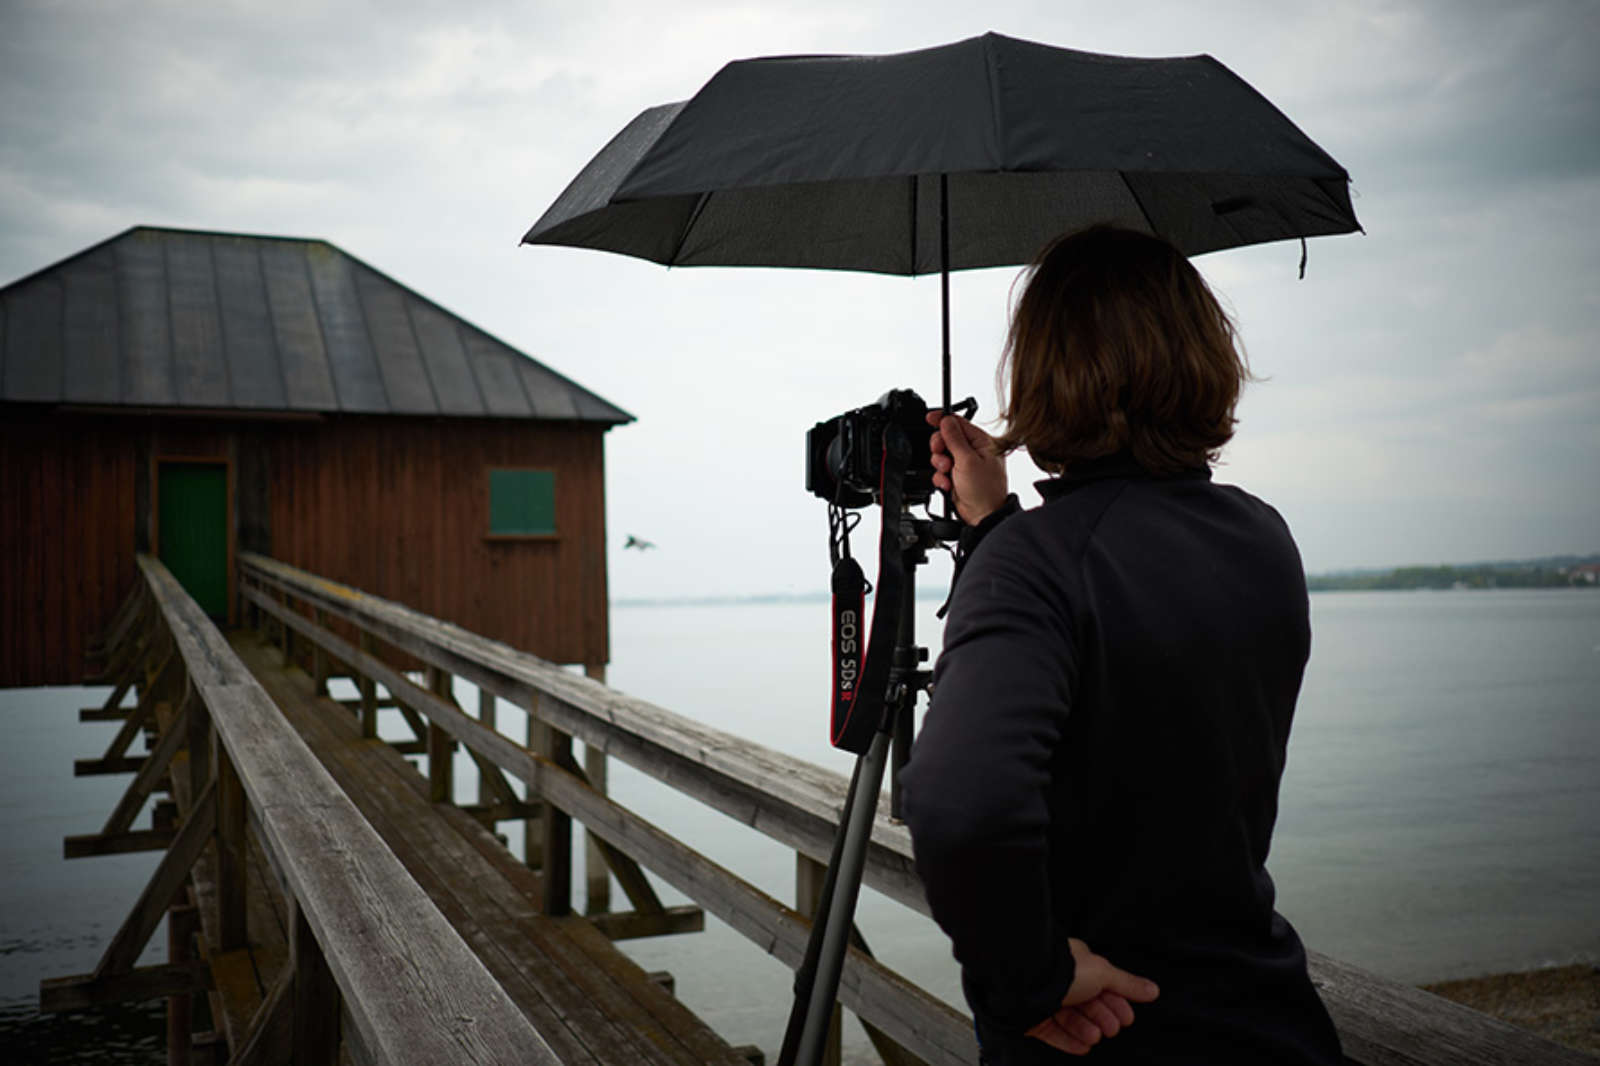
2/ Make sure to tripod it down!
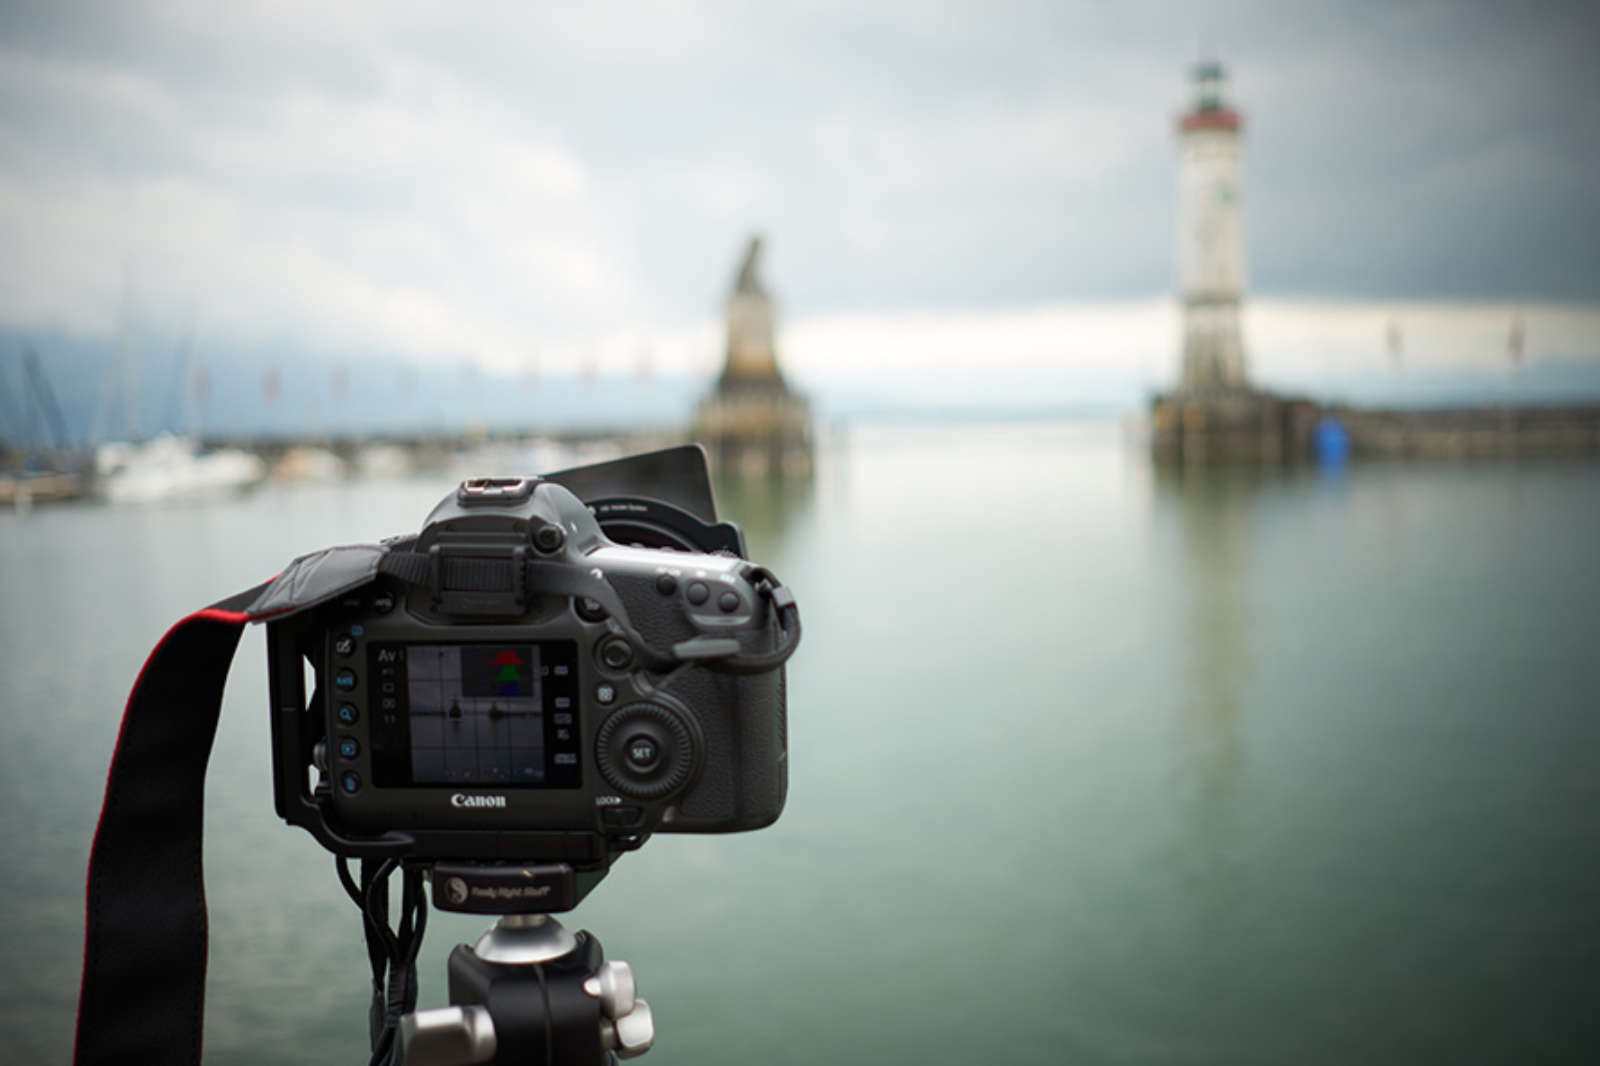
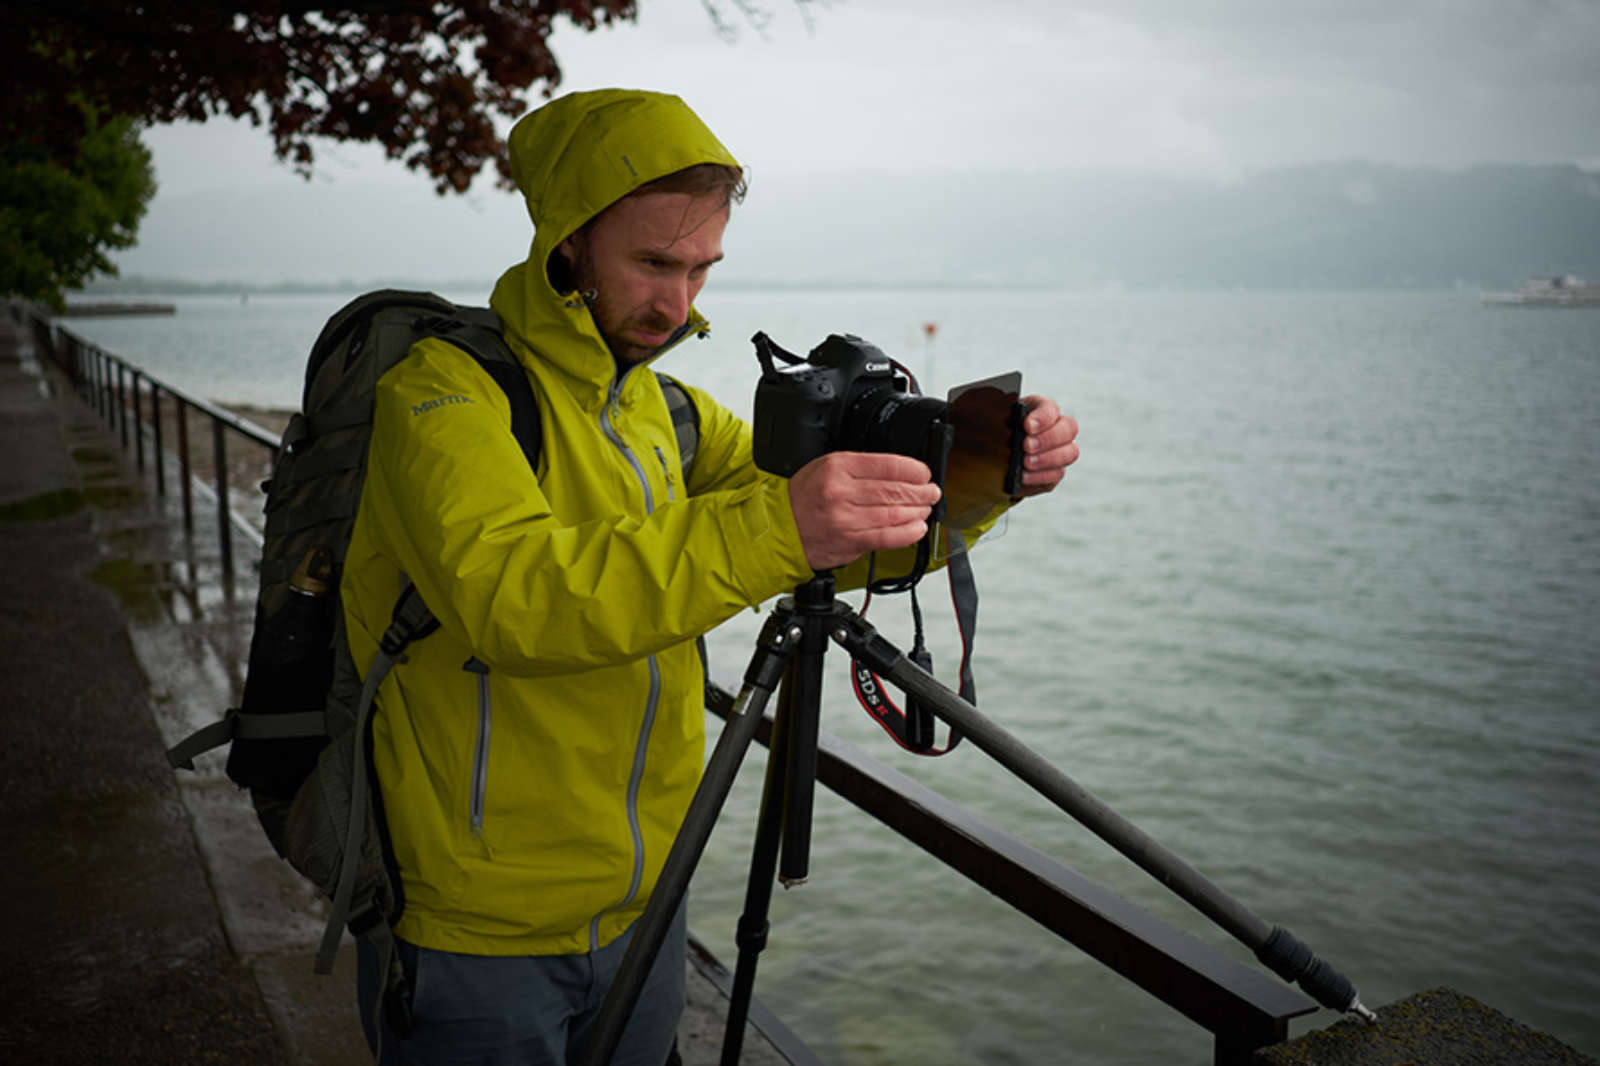
It is vital that you put your camera on a tripod that is as sturdy as possible (especially when you are shooting in windy conditions) and use a remote cable release. When it’s windy, try to block the camera with your body if possible and when it rains, use an umbrella so there are no raindrops on your front lens element or filter.
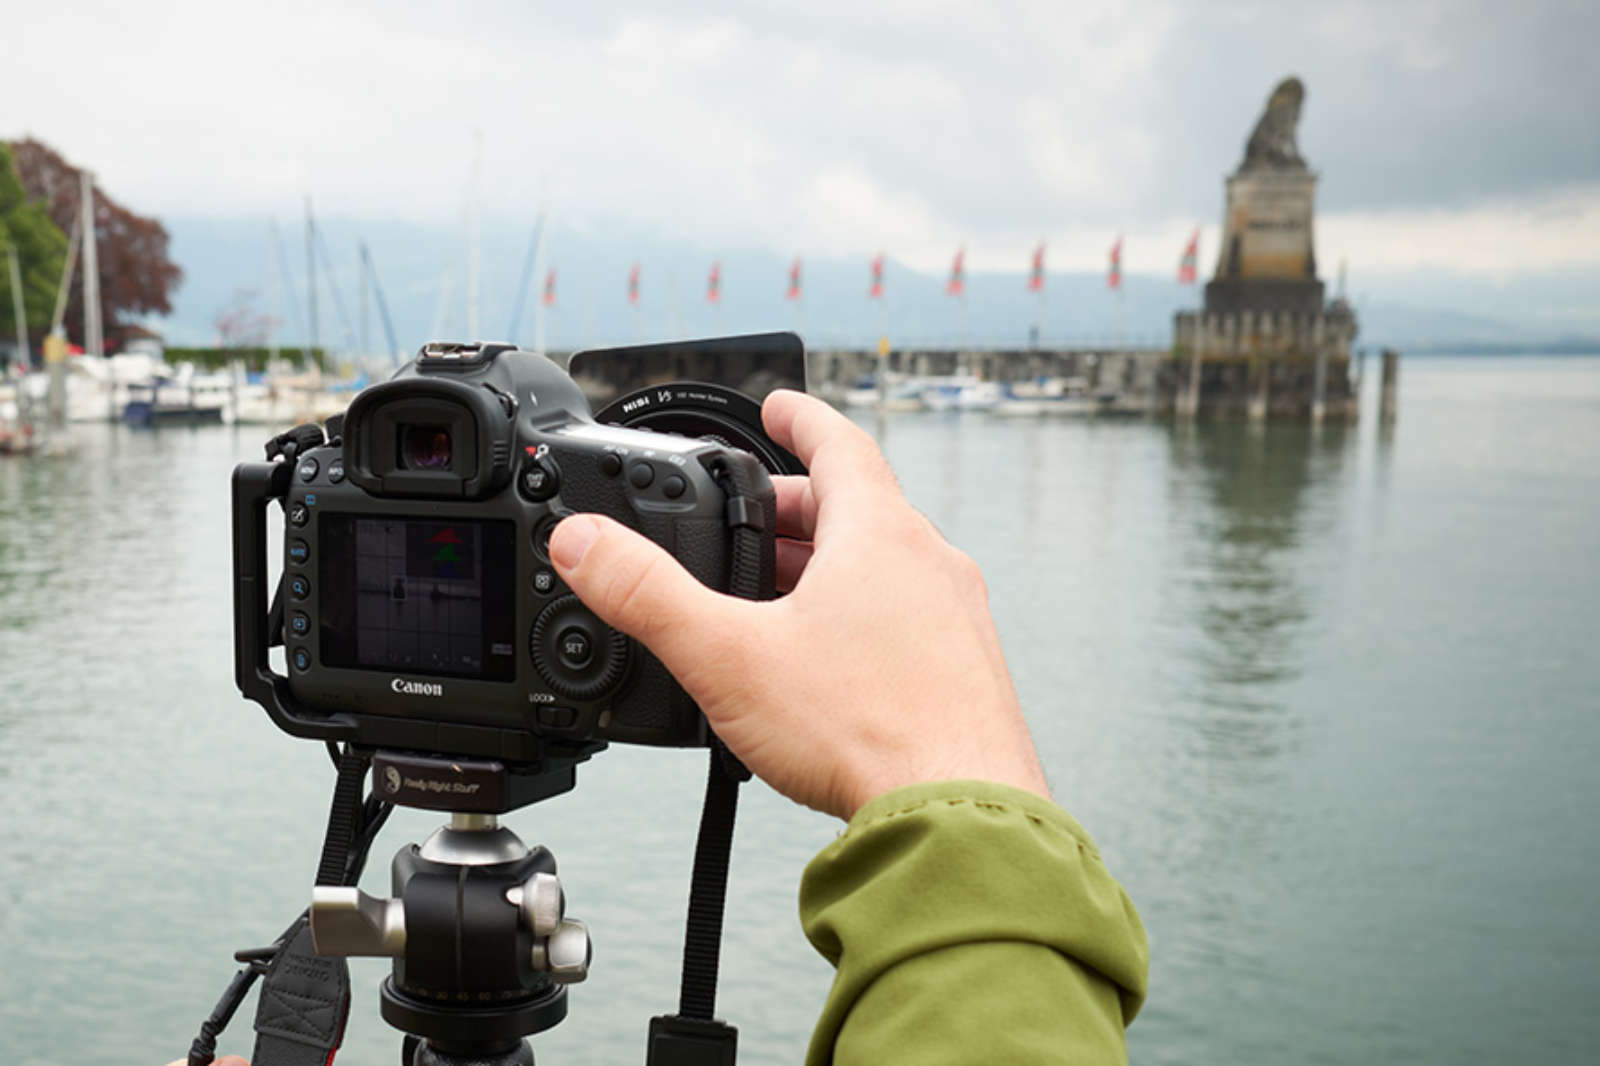
3/ Who prepares the composition in advance, wins...
Long exposure does not make up for poor composition - so think ahead and compose the image, focus and measure the exposure before you even put the filter on. (Use aperture priority and see what exposure time the camera gives you). It will be worth your while...
4/ Switch to bulb mode
You want to be in control of the shutter as long as you choose - so set your camera to the bulb mode (make sure to dial the same f-stop you had during the exposure metering).
Learn also: Sensor Size in Landscape Photography: Micro Four Thirds (MFT) vs APS-C vs Full Frame vs Medium Format
5/ Autofocus is “off”
Make sure to switch the autofocus off and cover the viewfinder to prevent stray light from hitting the sensor during the exposure.
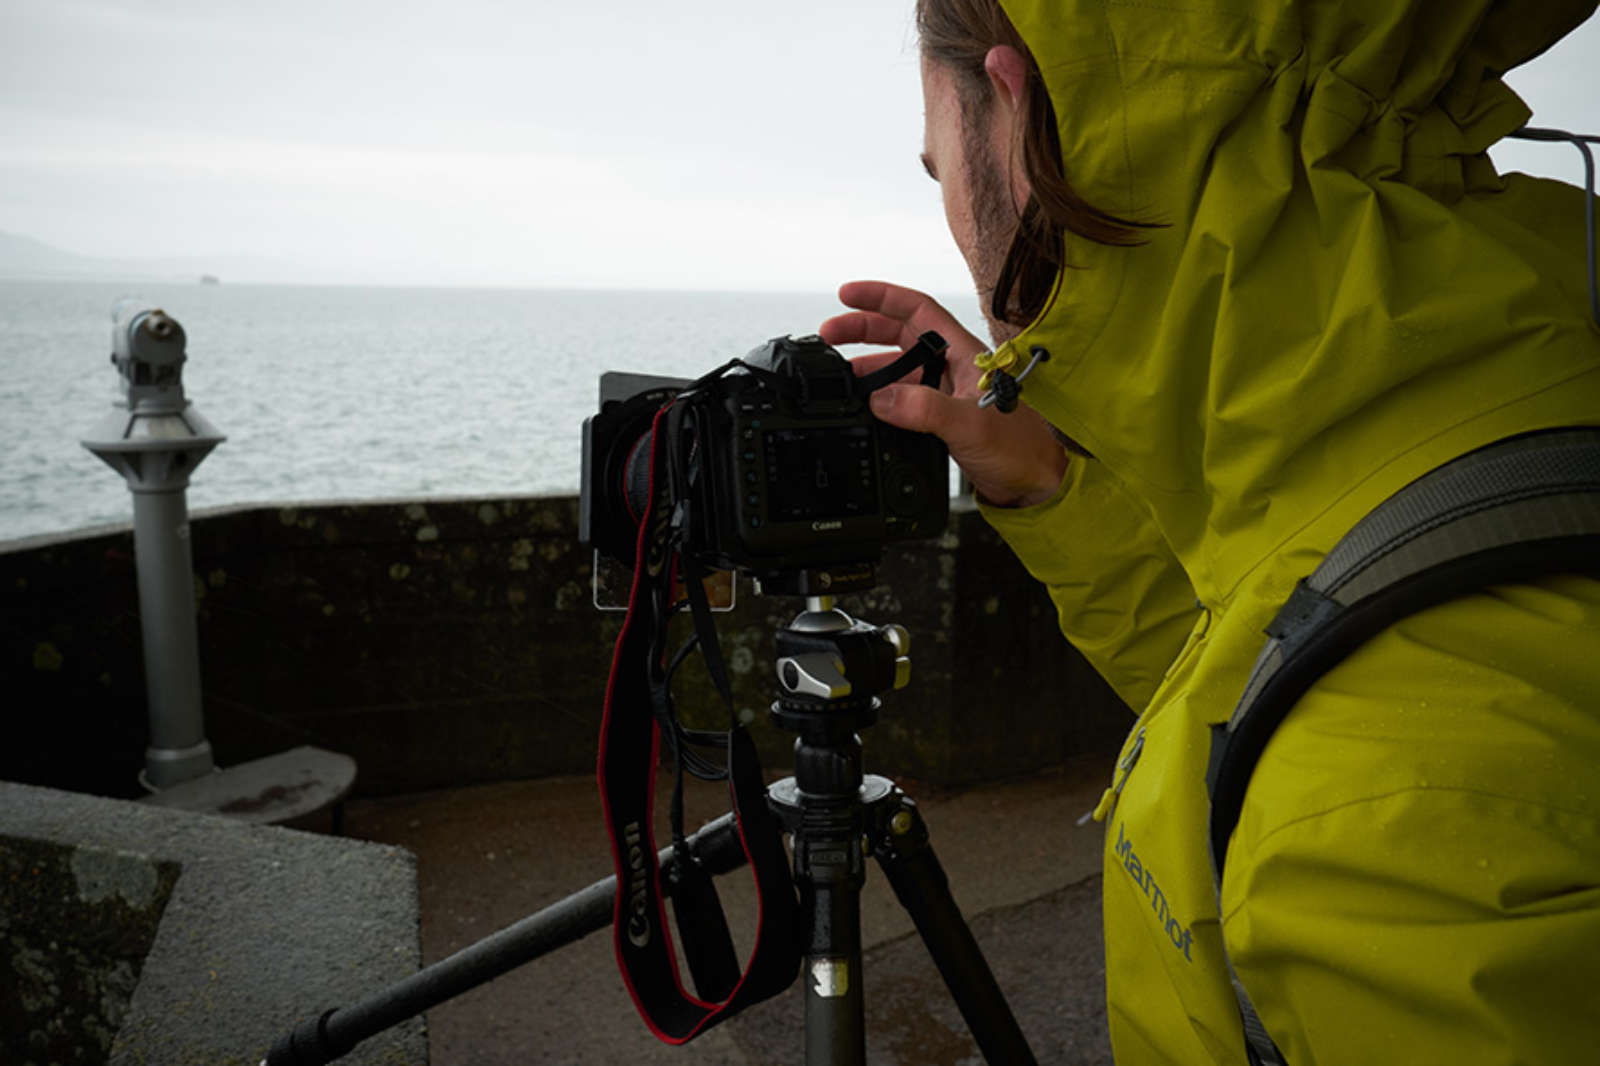
6/ Read to ND... so ND it right
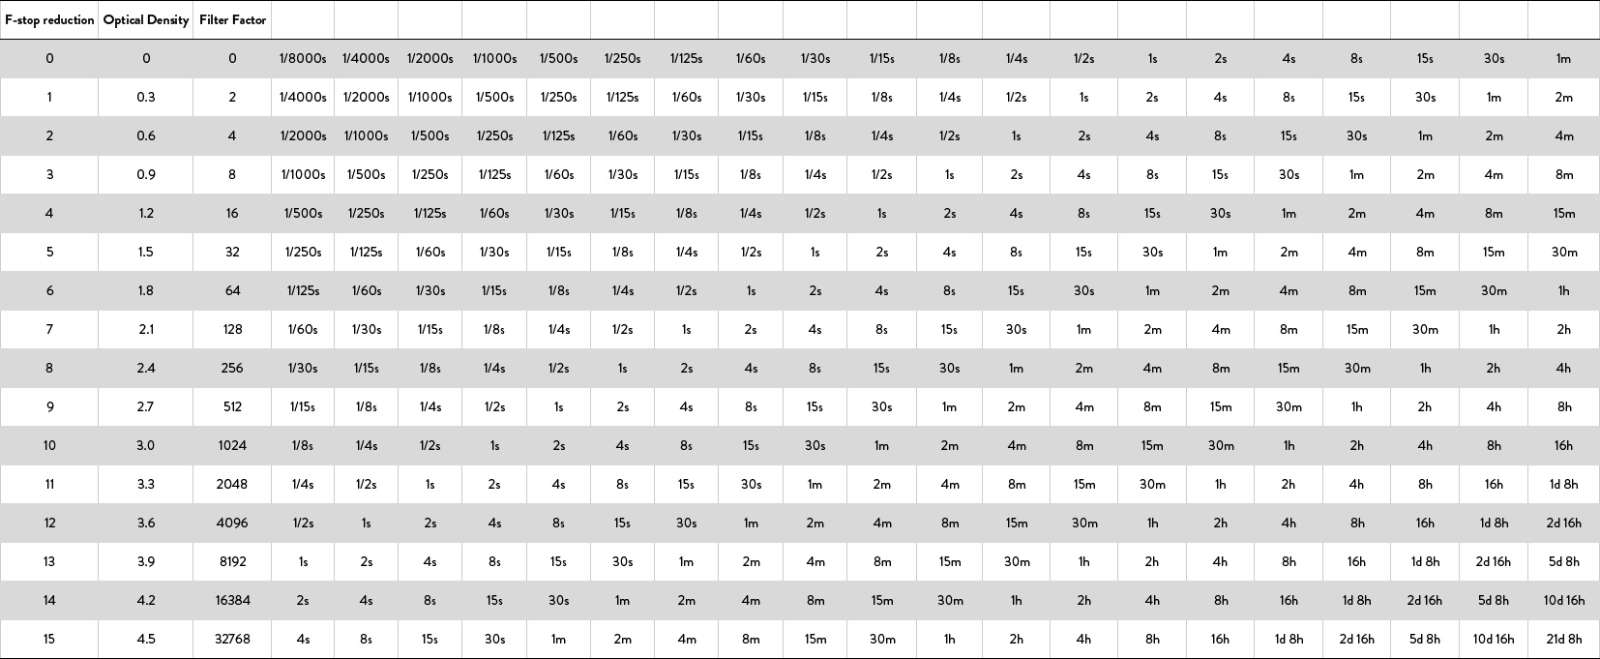
Insert the ND filter or screw it on, and expose the image according to the strength of the filter (see the chart below). Getting the maths right is vital… otherwise, you might be frustrated at the resulting picture - considering the effort you put into taking and processing it.
ND exposure chart
A practical example
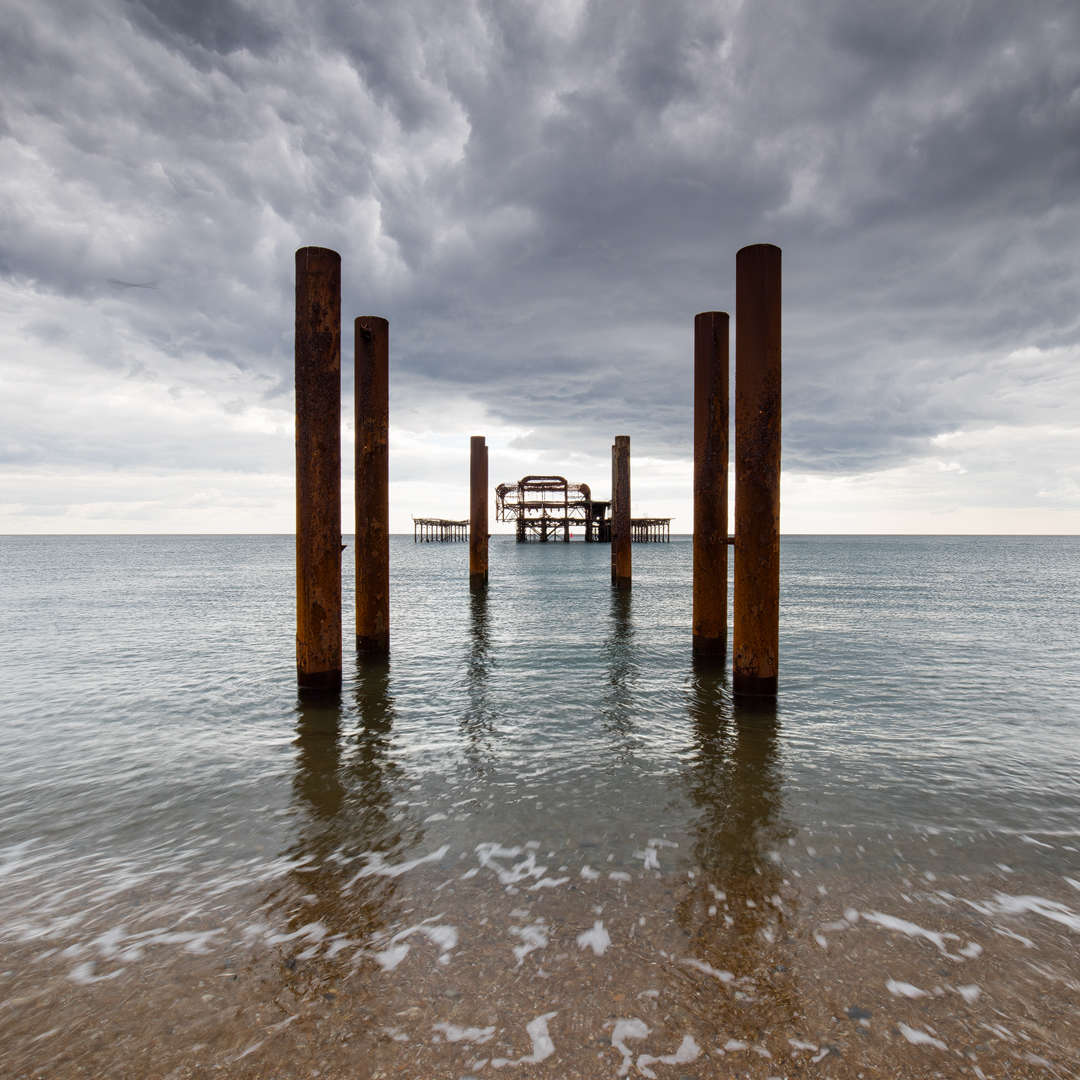
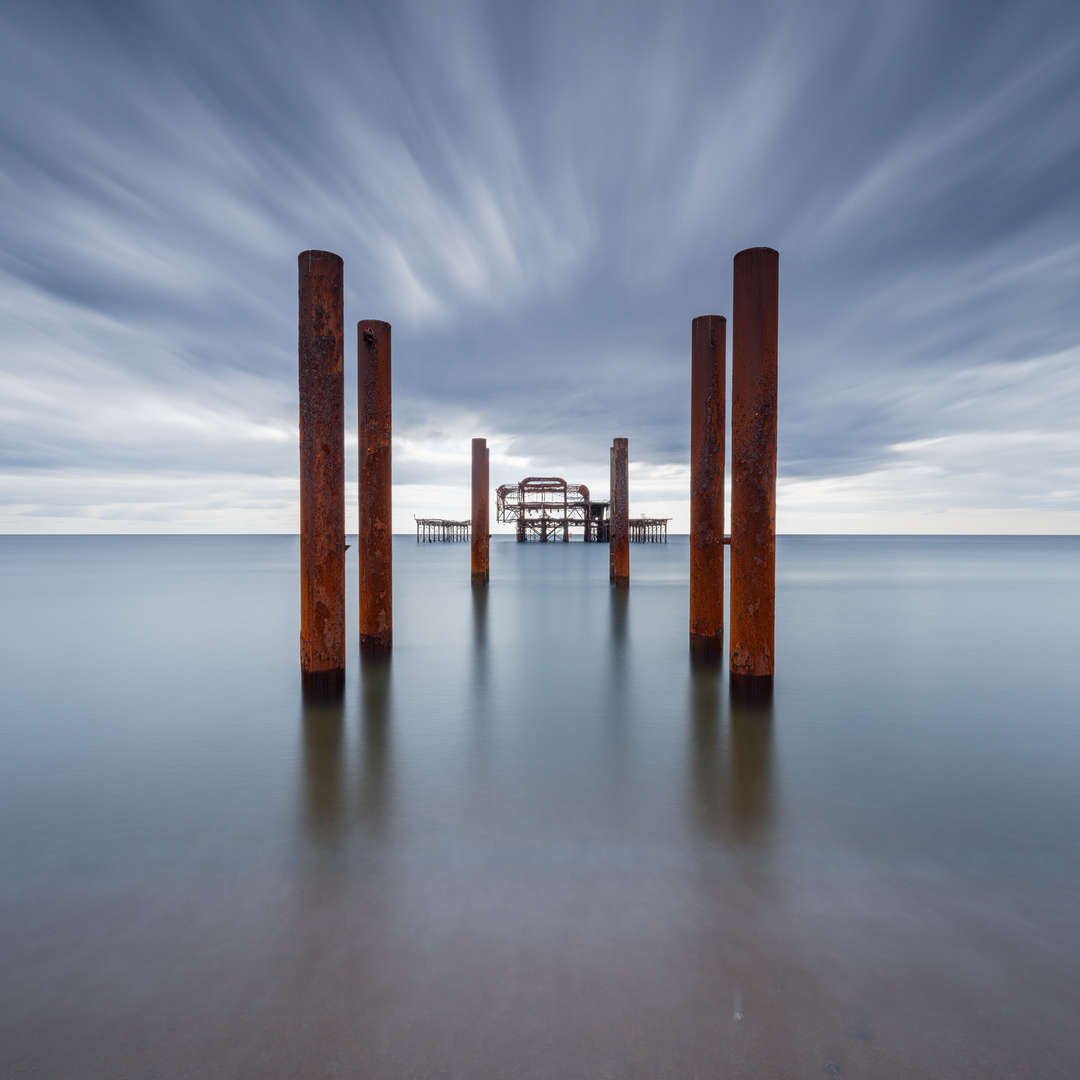
Here is an example from Brighton, UK. The first image was shot without the ND filter at f/16 and ⅛ s.
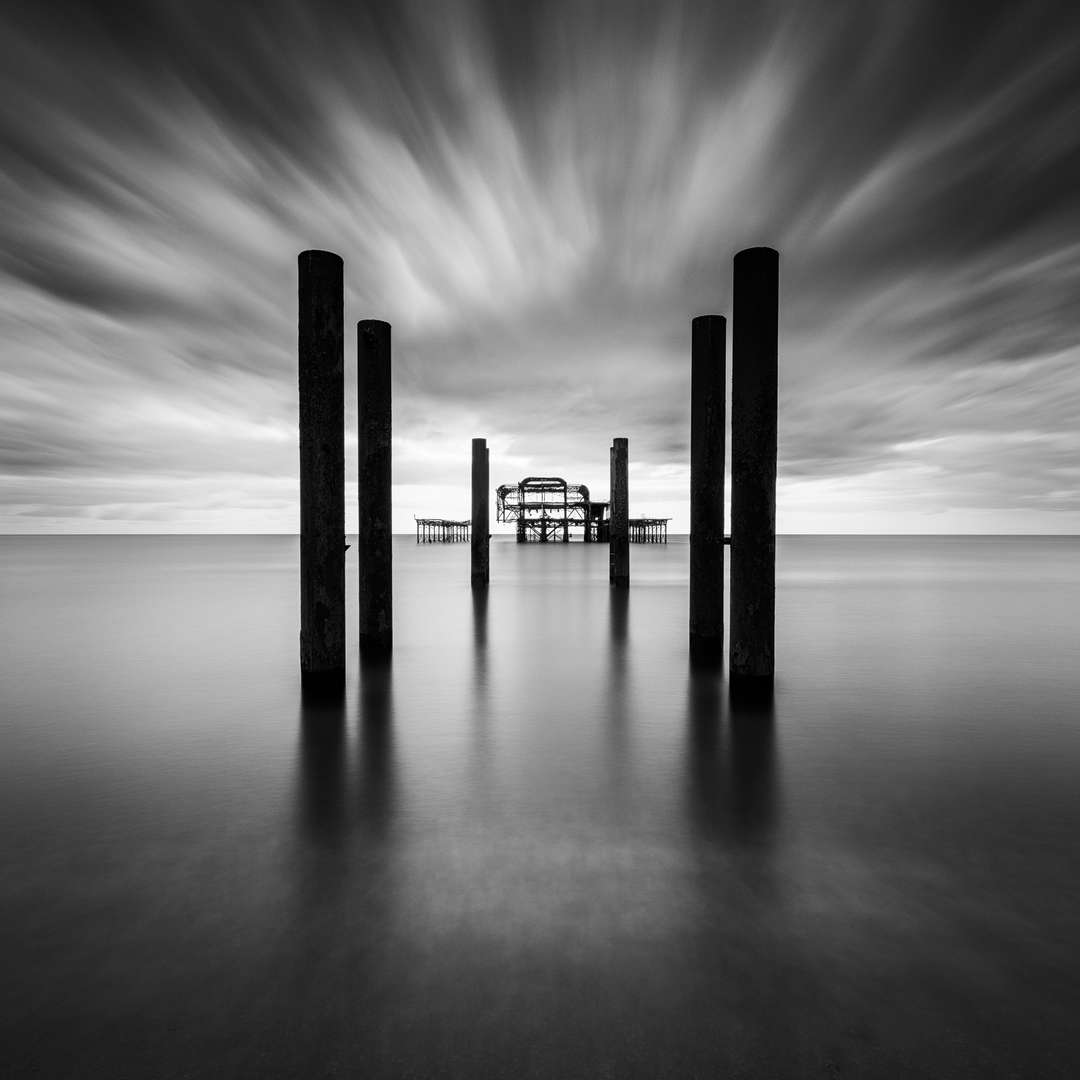
According to the chart ⅛ s = 120 s with a 10 stop ND filter, so I switched the camera to the bulb mode (B), set f/16 and left the shutter open for 120 s. This is the result.
Here is an example from Brighton, UK. The first image was shot without the ND filter at f/16 and ⅛ s.
Landscape Photography Masterclass
Master Your Photography Skills!
Discover new shooting techniques, learn about post-production strategies, and listen to interviews with renowned landscape photographers, all designed to take your photography to the next level.


